Friday, August 30, 2013

Prepping for the ridge beam


Working on the second floor.  Only the bedroom and bathroom side
will have a second floor.  The main space will be an vaulted ceiling.


The rough openings on the lake side.


Three 24" deep 26' long LVLs that will make up the ridge beam.
Each LVL weighs 350 lbs.


Thursday, August 29, 2013

More framing

Framing continues.  The south wall of the first floor and some of the interior walls were assembled today.  Scroll down to check out the video of the south wall being lifted into place.


The adhesive bead that seals the base plate of the wall to the subfloor.
I have some concerns about the lack of a seal between the sheathing
and the subfloor which I might write up in a subsequent post.


Raising the south wall.


The unsheathed section in the upper right of the wall makes me think a window
in that spot would be awfully nice.  Change order incoming....


1st floor bedroom on the left and bathroom on the right.


Wednesday, August 28, 2013

Wall Framing


Looking toward what will be the first floor bedroom and bathroom.


Not even quite the rough window opening for the main window,
but it gives you an idea of the view from the great room.


Again the bedroom.


The front door opening.


Dave and Gary laying out the template for the rafters.


View from the lake side.  The sheathing is Zip System sheathing.
The green coating on the board is impermeable to air and moisture transfer and
when the joints are properly taped, this sheathing will be the air barrier for the
house.  A tight air barrier is a key element of an energy-efficient house.


The Crew

The crew of Synergy Construction.


David Joyce

Gary Bergeron

Brad

Abi

Calvin

Steven Baczek (architect)

Tuesday, August 27, 2013

First floor deck


The first LVL (Laminated Veneer Lumber) installed for the floor deck.
The foundation is L-shaped and this
LVL divides the L into two rectangles.


The joists installed for the south section of the house.
These joists are 15' long but there's a beam underneath them
for added support.


Same joists from the west side (the lake side). The joists are I-joists.  This will
likely affect the way we will insulate the floor deck from the basement.
Back when we were planning on keeping the old floor deck I had asked
that the foam insulation be sprayed between the joists but also over and
around the joists to eliminate the thermal short circuit through the joists.
But that means using quite a bit more insulation which adds significant cost.
Since the I-joists have a much thinner profile the thermal short circuit is much
reduced and it probably makes more sense to just spray between the joists. 


Starting to lay the Advantech subfloor.  Advantech subflooring is another
engineered lumber product that looks much like OSB (oriented strand board)
but is stronger and repels water, rather than soaking it up and swelling.


The opening for the stairwell to the basement.  You can also see another LVL that
splits the 21' span across the large section of the foundation.


The basement's days in the sun are ending.


One more piece of band joist to go.

And the floor deck is done.
You can see one of the wall frames laying on the deck for tomorrow!


Wednesday, August 21, 2013

Basement and foundation work


Several things needed to be done to the basement and foundation before framing could begin.

  • The bump-out on the back of the house was removed.  I wanted the back to present a flat face to the lake so that the screened porch was more directly accessible from the house and to give the deck a more open feel.
  • Several footings were dug out and poured in the basement to support posts to support the floor.
  • Footings were dug and poured to support the new basement stairs
  • A sub-slab drain to a new sump pit was installed.
  • The opening for the old bulkhead was filled.  The previous owner had removed the bulkhead doors and built the deck right over the opening.
  • Footings for the deck and screen porch were set and filled.


Before the basement work started.  The opening for the old bulkhead
is visible just behind the chimney.


Footings for the basement stairs and one of the support posts


A few of the "big foot" tubes that will support the deck.
Not all of them could be set until the foundation work is done
and the fill replaced.


At the top you can see the bump-out in the process of being removed.

The bump-out mostly demolished.  Also shown here are the J bolts set
into concrete in the foundation wall.  The sill plate will be bolted down
to the foundation using these bolts.


We decided to demolish a bit more of the side wall so the the
new pour could go around the corner and capture the side wall.
That meant losing the basement window that you see here

The forms in place for pouring the new corner.


Same forms from the outside


Concrete delivered and being installed.  Just to the left of the tube as
it goes into the basement you can see a guy dressed
in black.  He's got a remote control that allows him to turn the
flow of concrete on and off and, I believe, to move the arm.


The crew is talking to the guy with the remote telling him
when they want more concrete.


The sub-slab drain and the footings now filled with concrete.
The drain isn't quite a perimeter drain as part of the perimeter
had a 5 inch thick slab of concrete for some unknown reason.


Monday, August 12, 2013

Demolition

Demolition has finally started and already I've come up with my first change order.  I'd been thinking to keep the floor deck but it occurred to me that after sitting over a musty, damp basement for 50 years, the floor might very well have become a reservoir of mold.  So the floor deck is going too.  When they tore it out they did, in fact, find a lot of mold in the paper between the sub-floor and the finish flooring.   That probably would have been removed anyway, but I can easily believe the sub-floor itself could have been harboring a fair amount of mold.

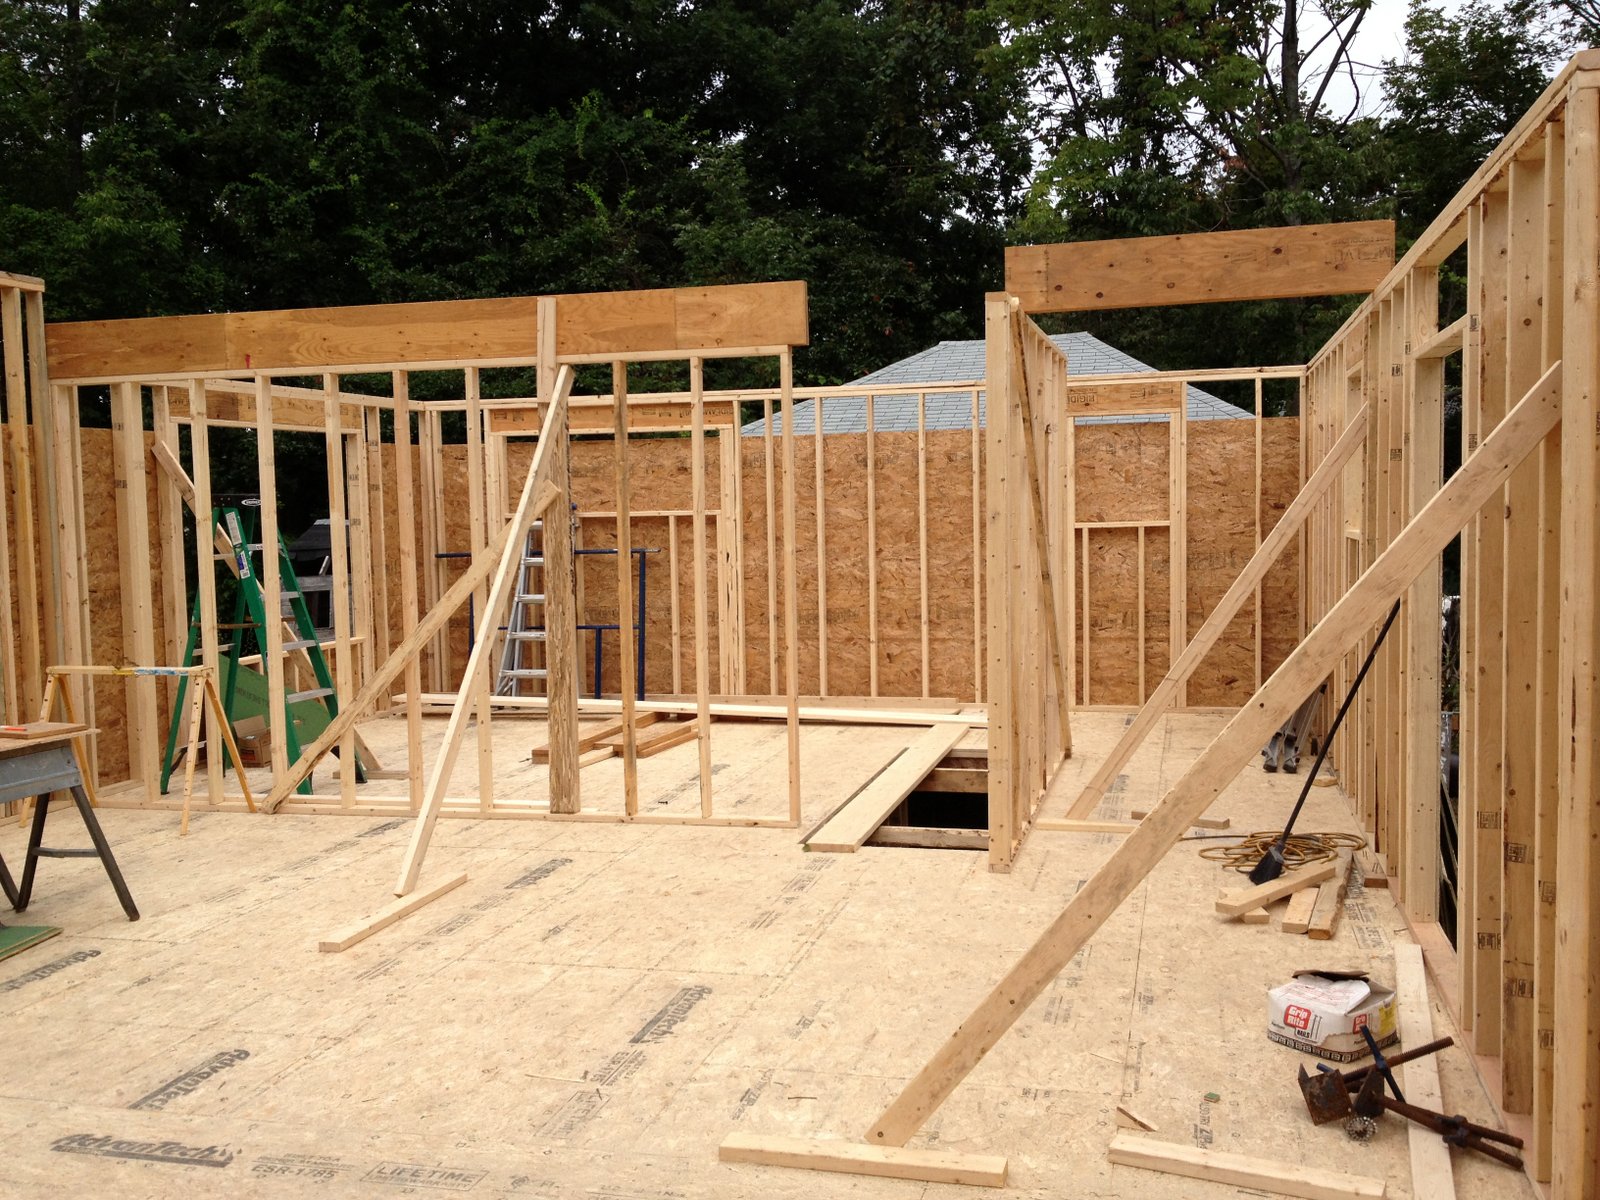
And, Dave, the builder is happy because now he's going to have a floor that's flat enough to use to layout the walls.


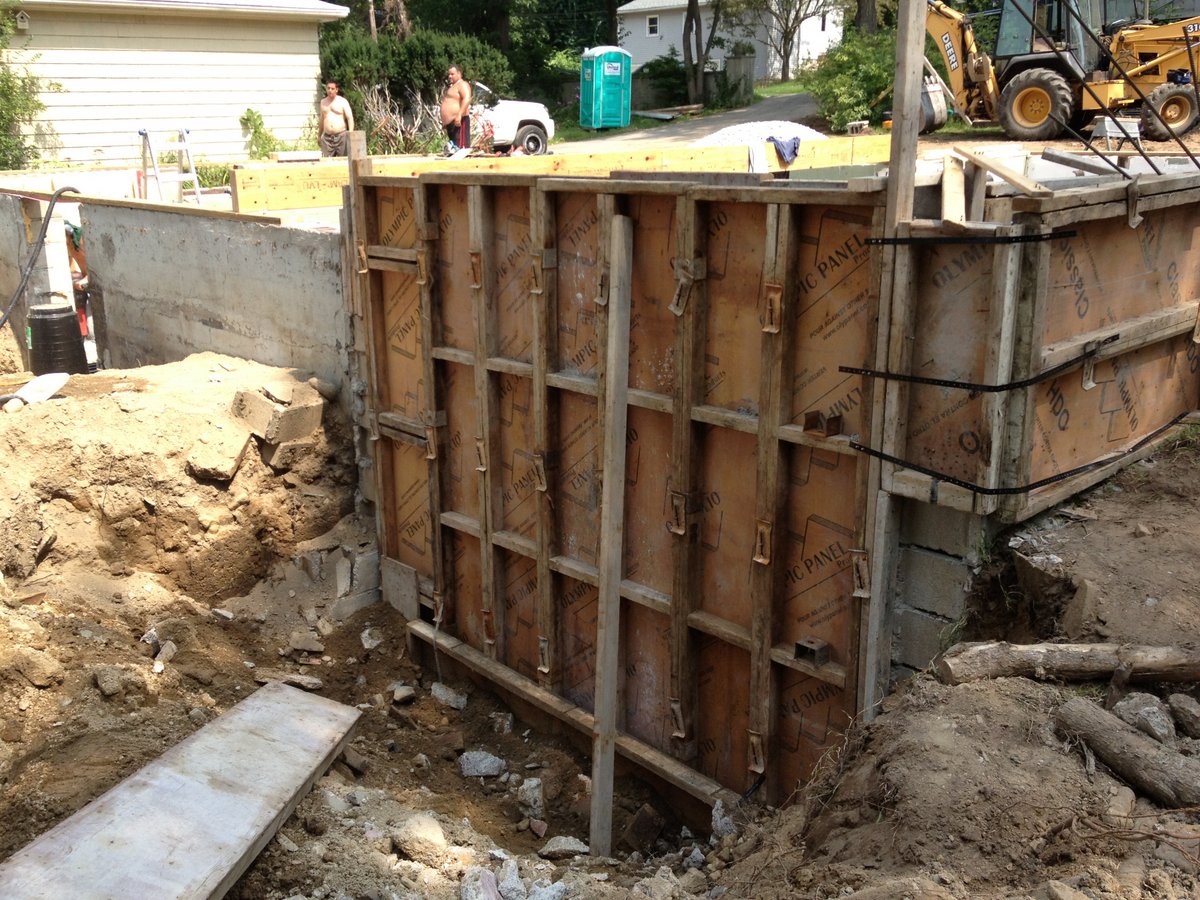
Turns out the floor deck came off quite easily as it wasn't attached
to the foundation!  The house was just resting on the foundation for
all these years.  It's a block foundation and the builder will set J bolts
into concrete poured in the voids in the blocks.


Saturday, August 10, 2013

The septic system

Not surprisingly the septic system failed Title V and had to be repaired.  The previous septic system was comprised of a tank and a "leaching pit" - a 4 foot diameter hole that the septic tank emptied into.  Even worse, the entire kitchen wasn't plumbed into the septic system at all, but ran out the other side of the house presumably to an unknown destination - possibly a buried cesspool.

Here are some picks of the septic system work.  Unfortunately I was on vacation and wasn't there to take pictures every day so I missed much of the leaching field installation.


That's the pumping tank nearest and the septic tank towards the back.

Excavating for the sand fill.  That's Mike Halloran,
the excavation contractor in the foreground.


The leaching field


Big pile of sand waiting to be added to the leaching field

The timber wall under construction.  This is before the piping was laid
in case you were worried about the excavator being parked there.


Piping laid and covered.


All done